

1
Install the app and pick a plan
Install Codebeans Wishlyst from the Shopify App Store and approve the permissions. The app opens on Pricing until you choose a plan. See Plans & billing.
2
Turn on the app embeds
Open Wishlist Settings → Setup Guides in the app and click Open Theme Editor → App Embeds. The theme editor opens with the app embeds panel. Turn on both:
- Wishlist Engine: the core of the wishlist (collection hearts, wishlist page, drawer, popups).
- Wishlist icon: the product page button and the cart page integration.
3
Switch on the storefront features
Storefront features start switched off so nothing appears on your store until you are ready. Go to Insights, open the Wishlist Settings panel and activate the ones you want:
4
Add a wishlist page
Create a page (for example Wishlist at
/pages/wishlist) and add the Shopy Wishlist Page block to it. Then link to it from your menu. Follow Wishlist page setup.5
Add wishlists to customer accounts (optional)
If your store uses the new customer accounts, add the wishlist page to the account area. See Customer accounts.
6
Match your brand
Click Manage Wishlist in the app menu to set colors, icons, button positions and text. A live preview updates as you edit. See Customize the look.
Check it works
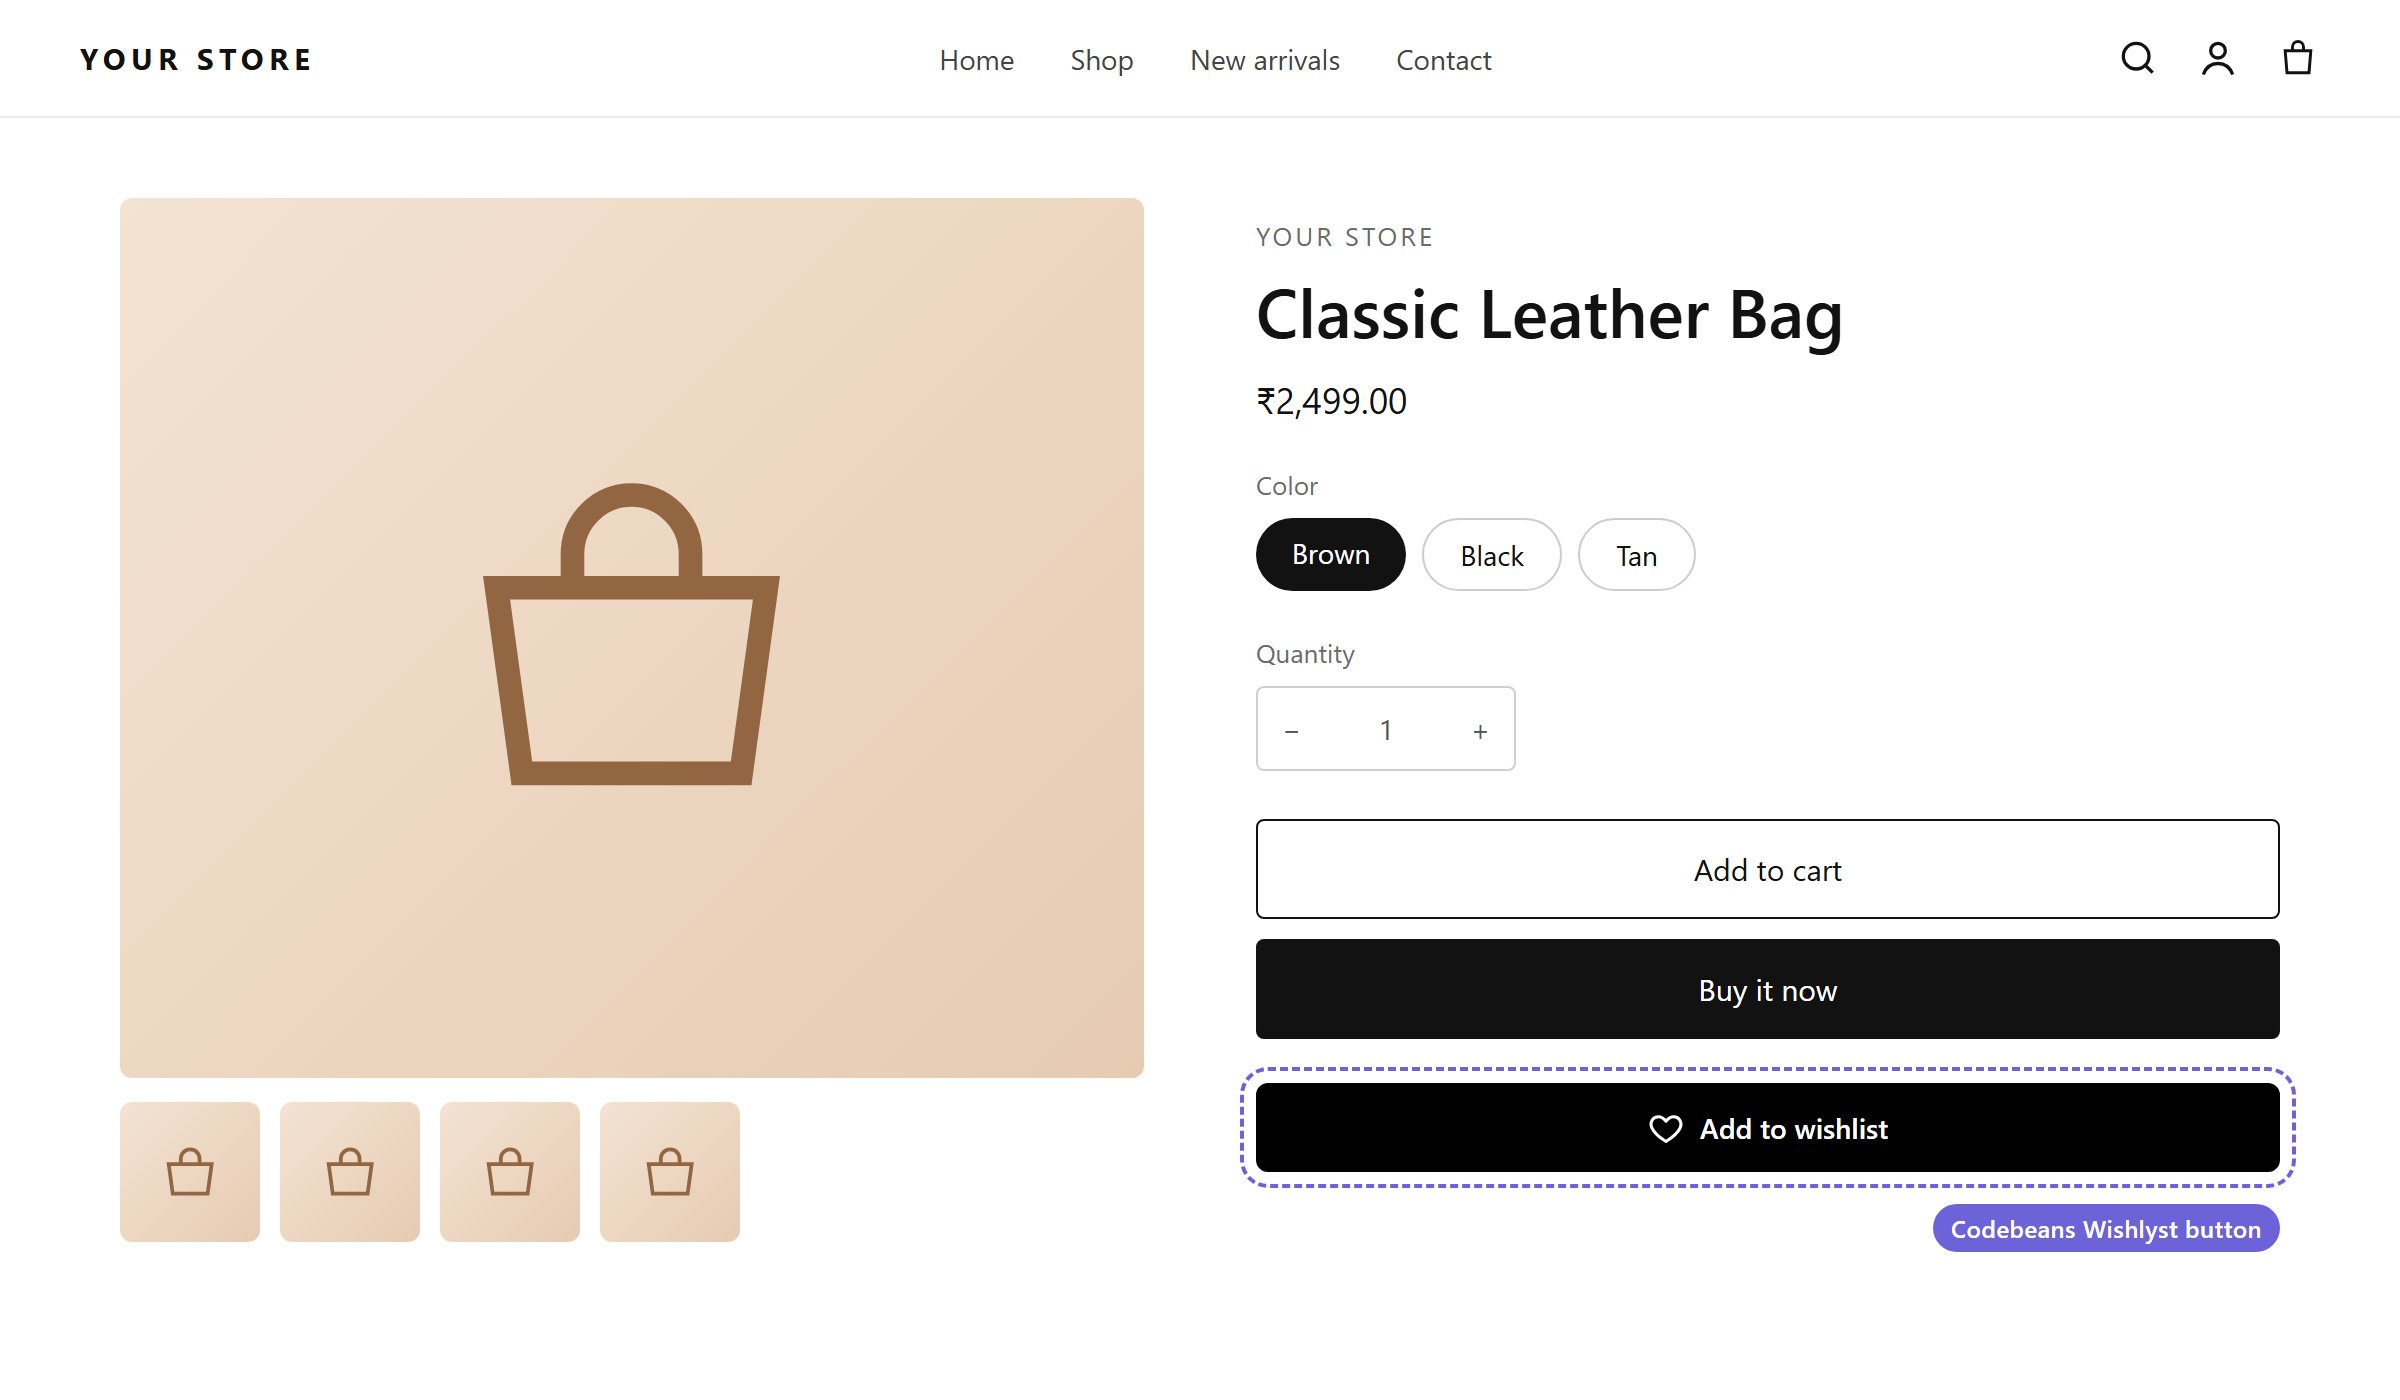
What you should see on a product page
- Open a product page on your store. You should see the Add to wishlist button.
- Click it, then open your wishlist page. The product is there.
- Back in the app, open Customers → All Wishlists. The new wishlist is listed.